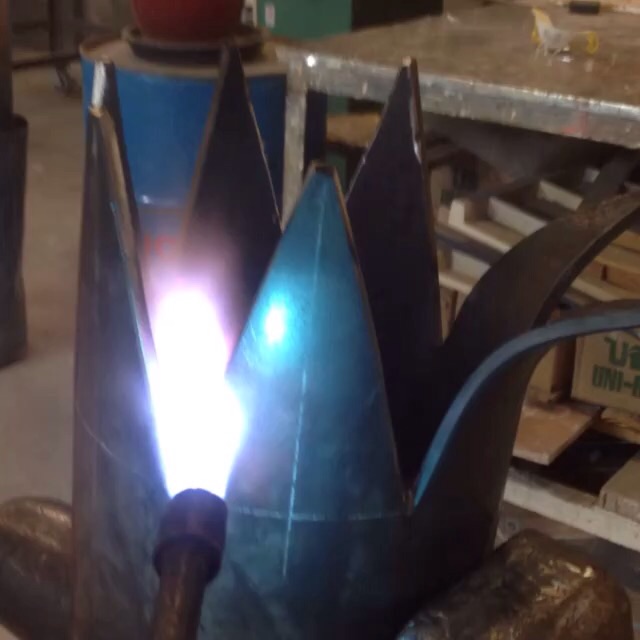
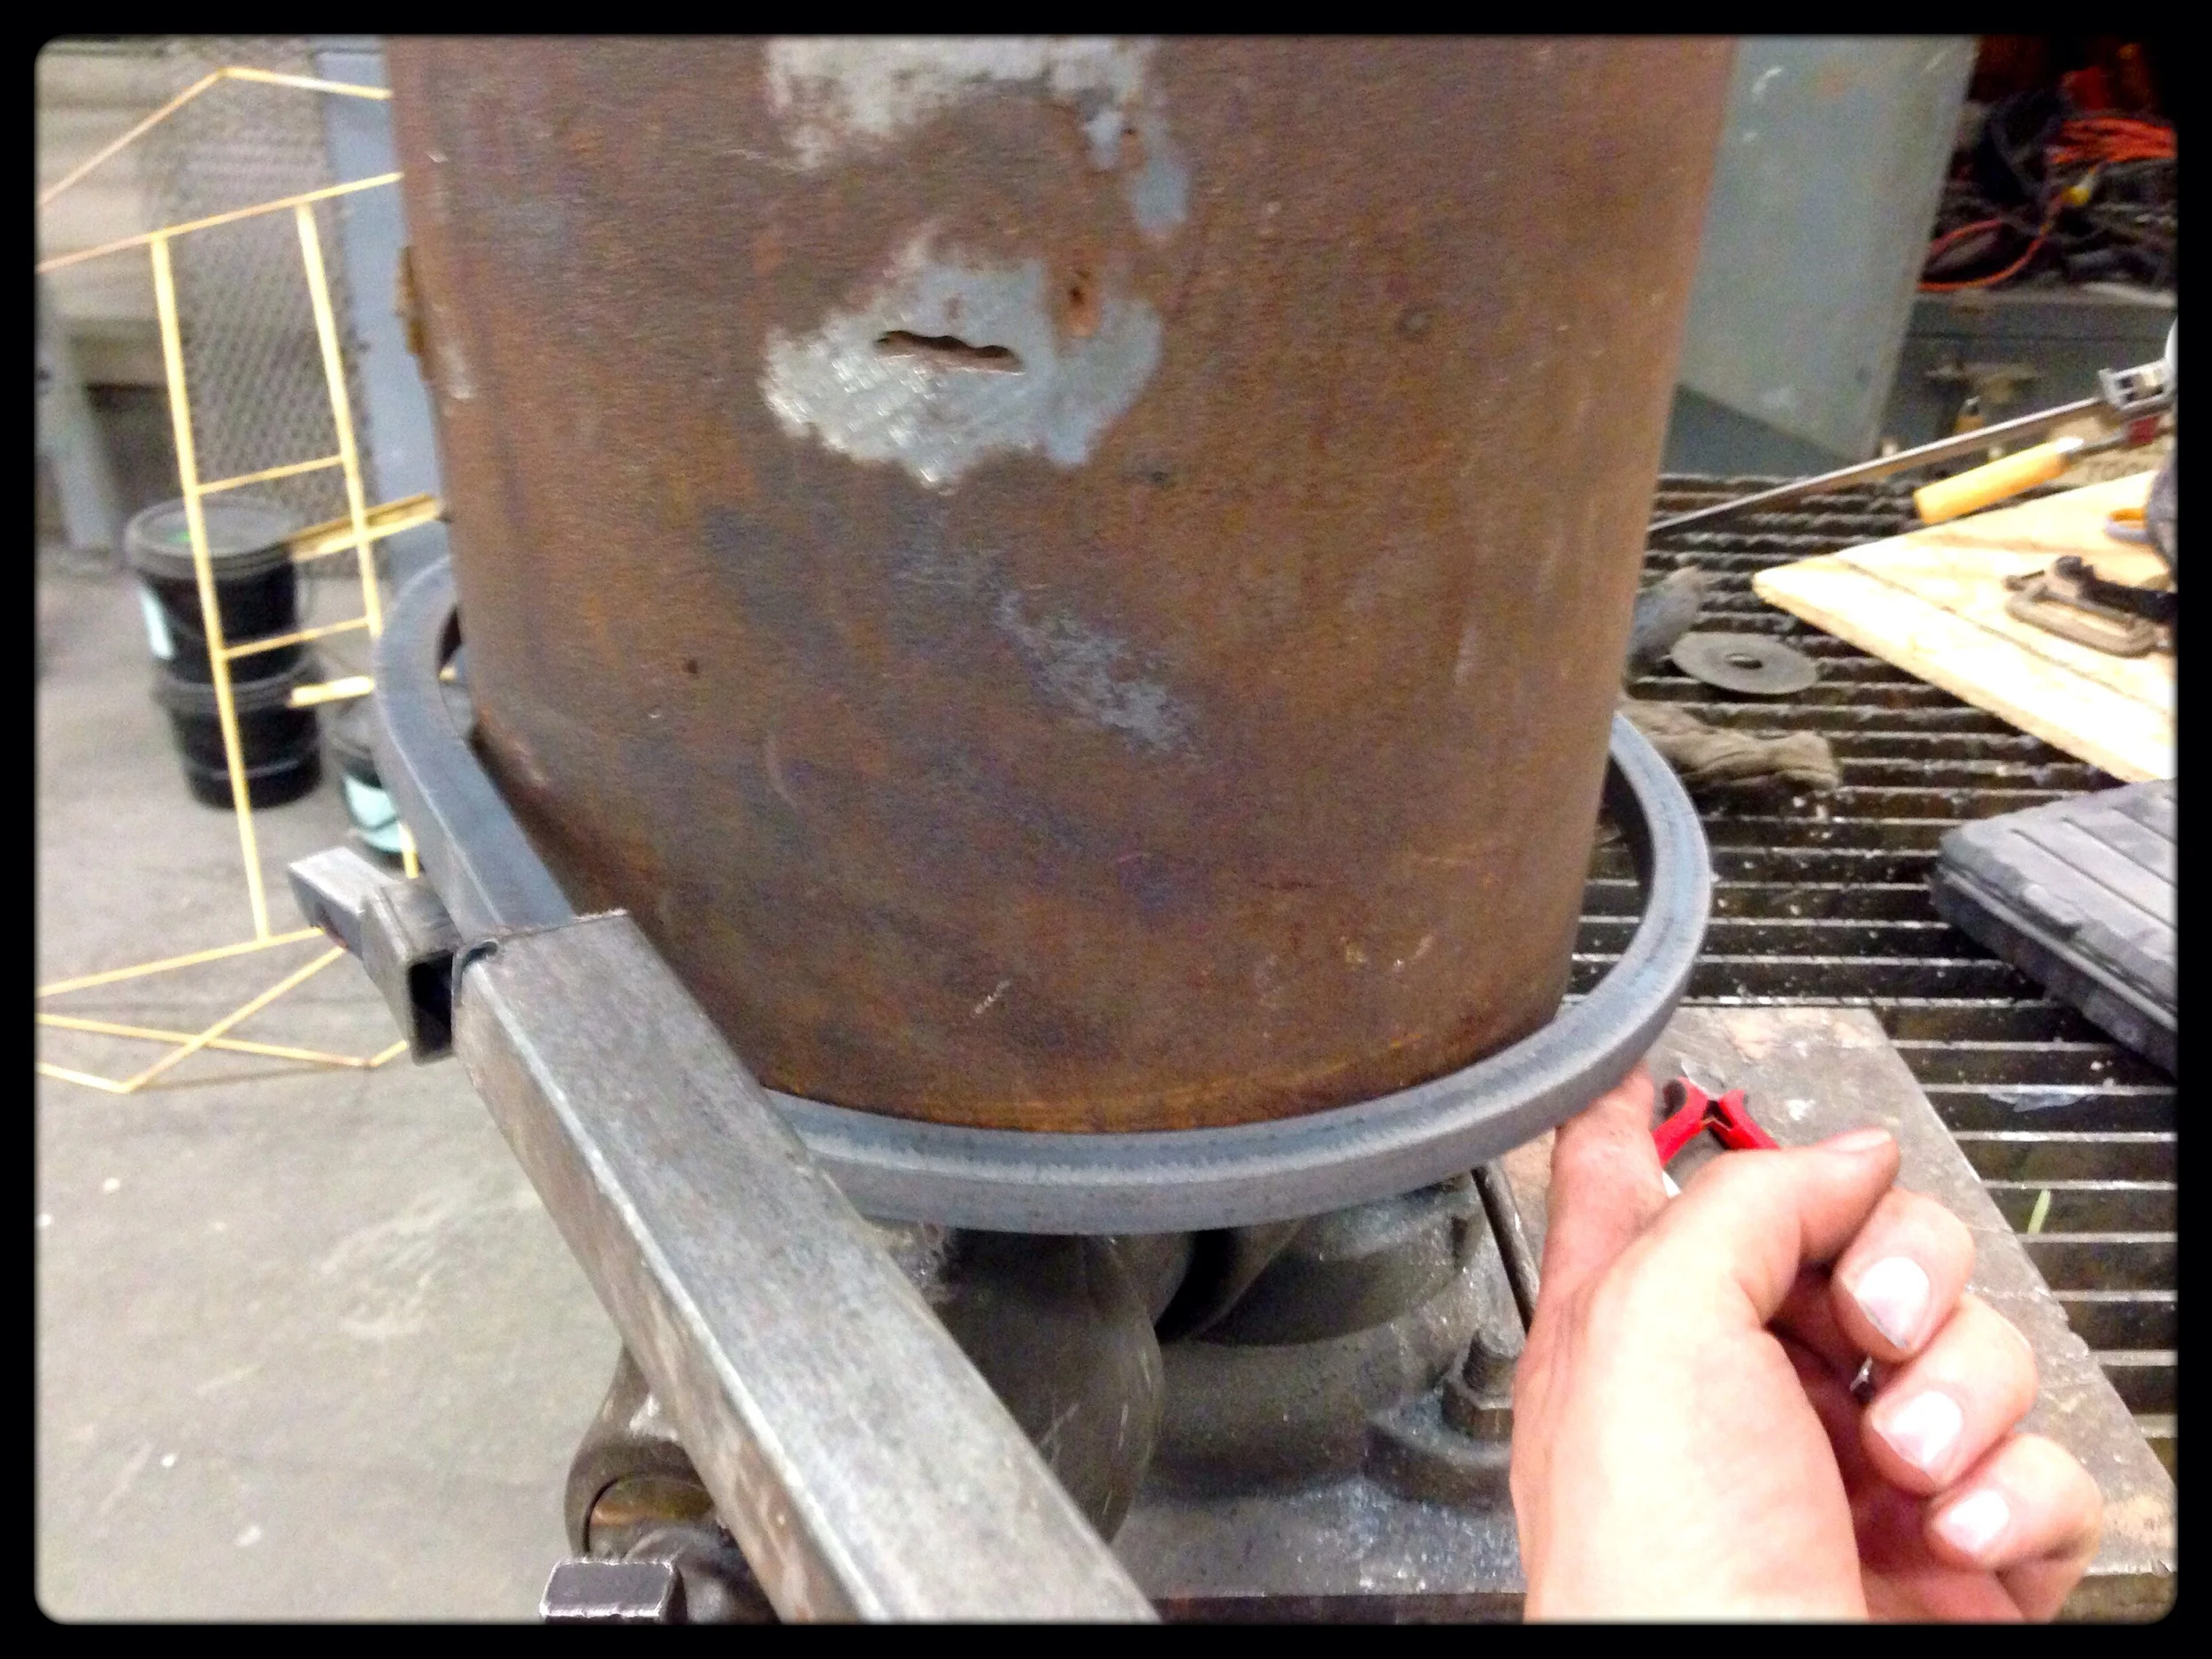
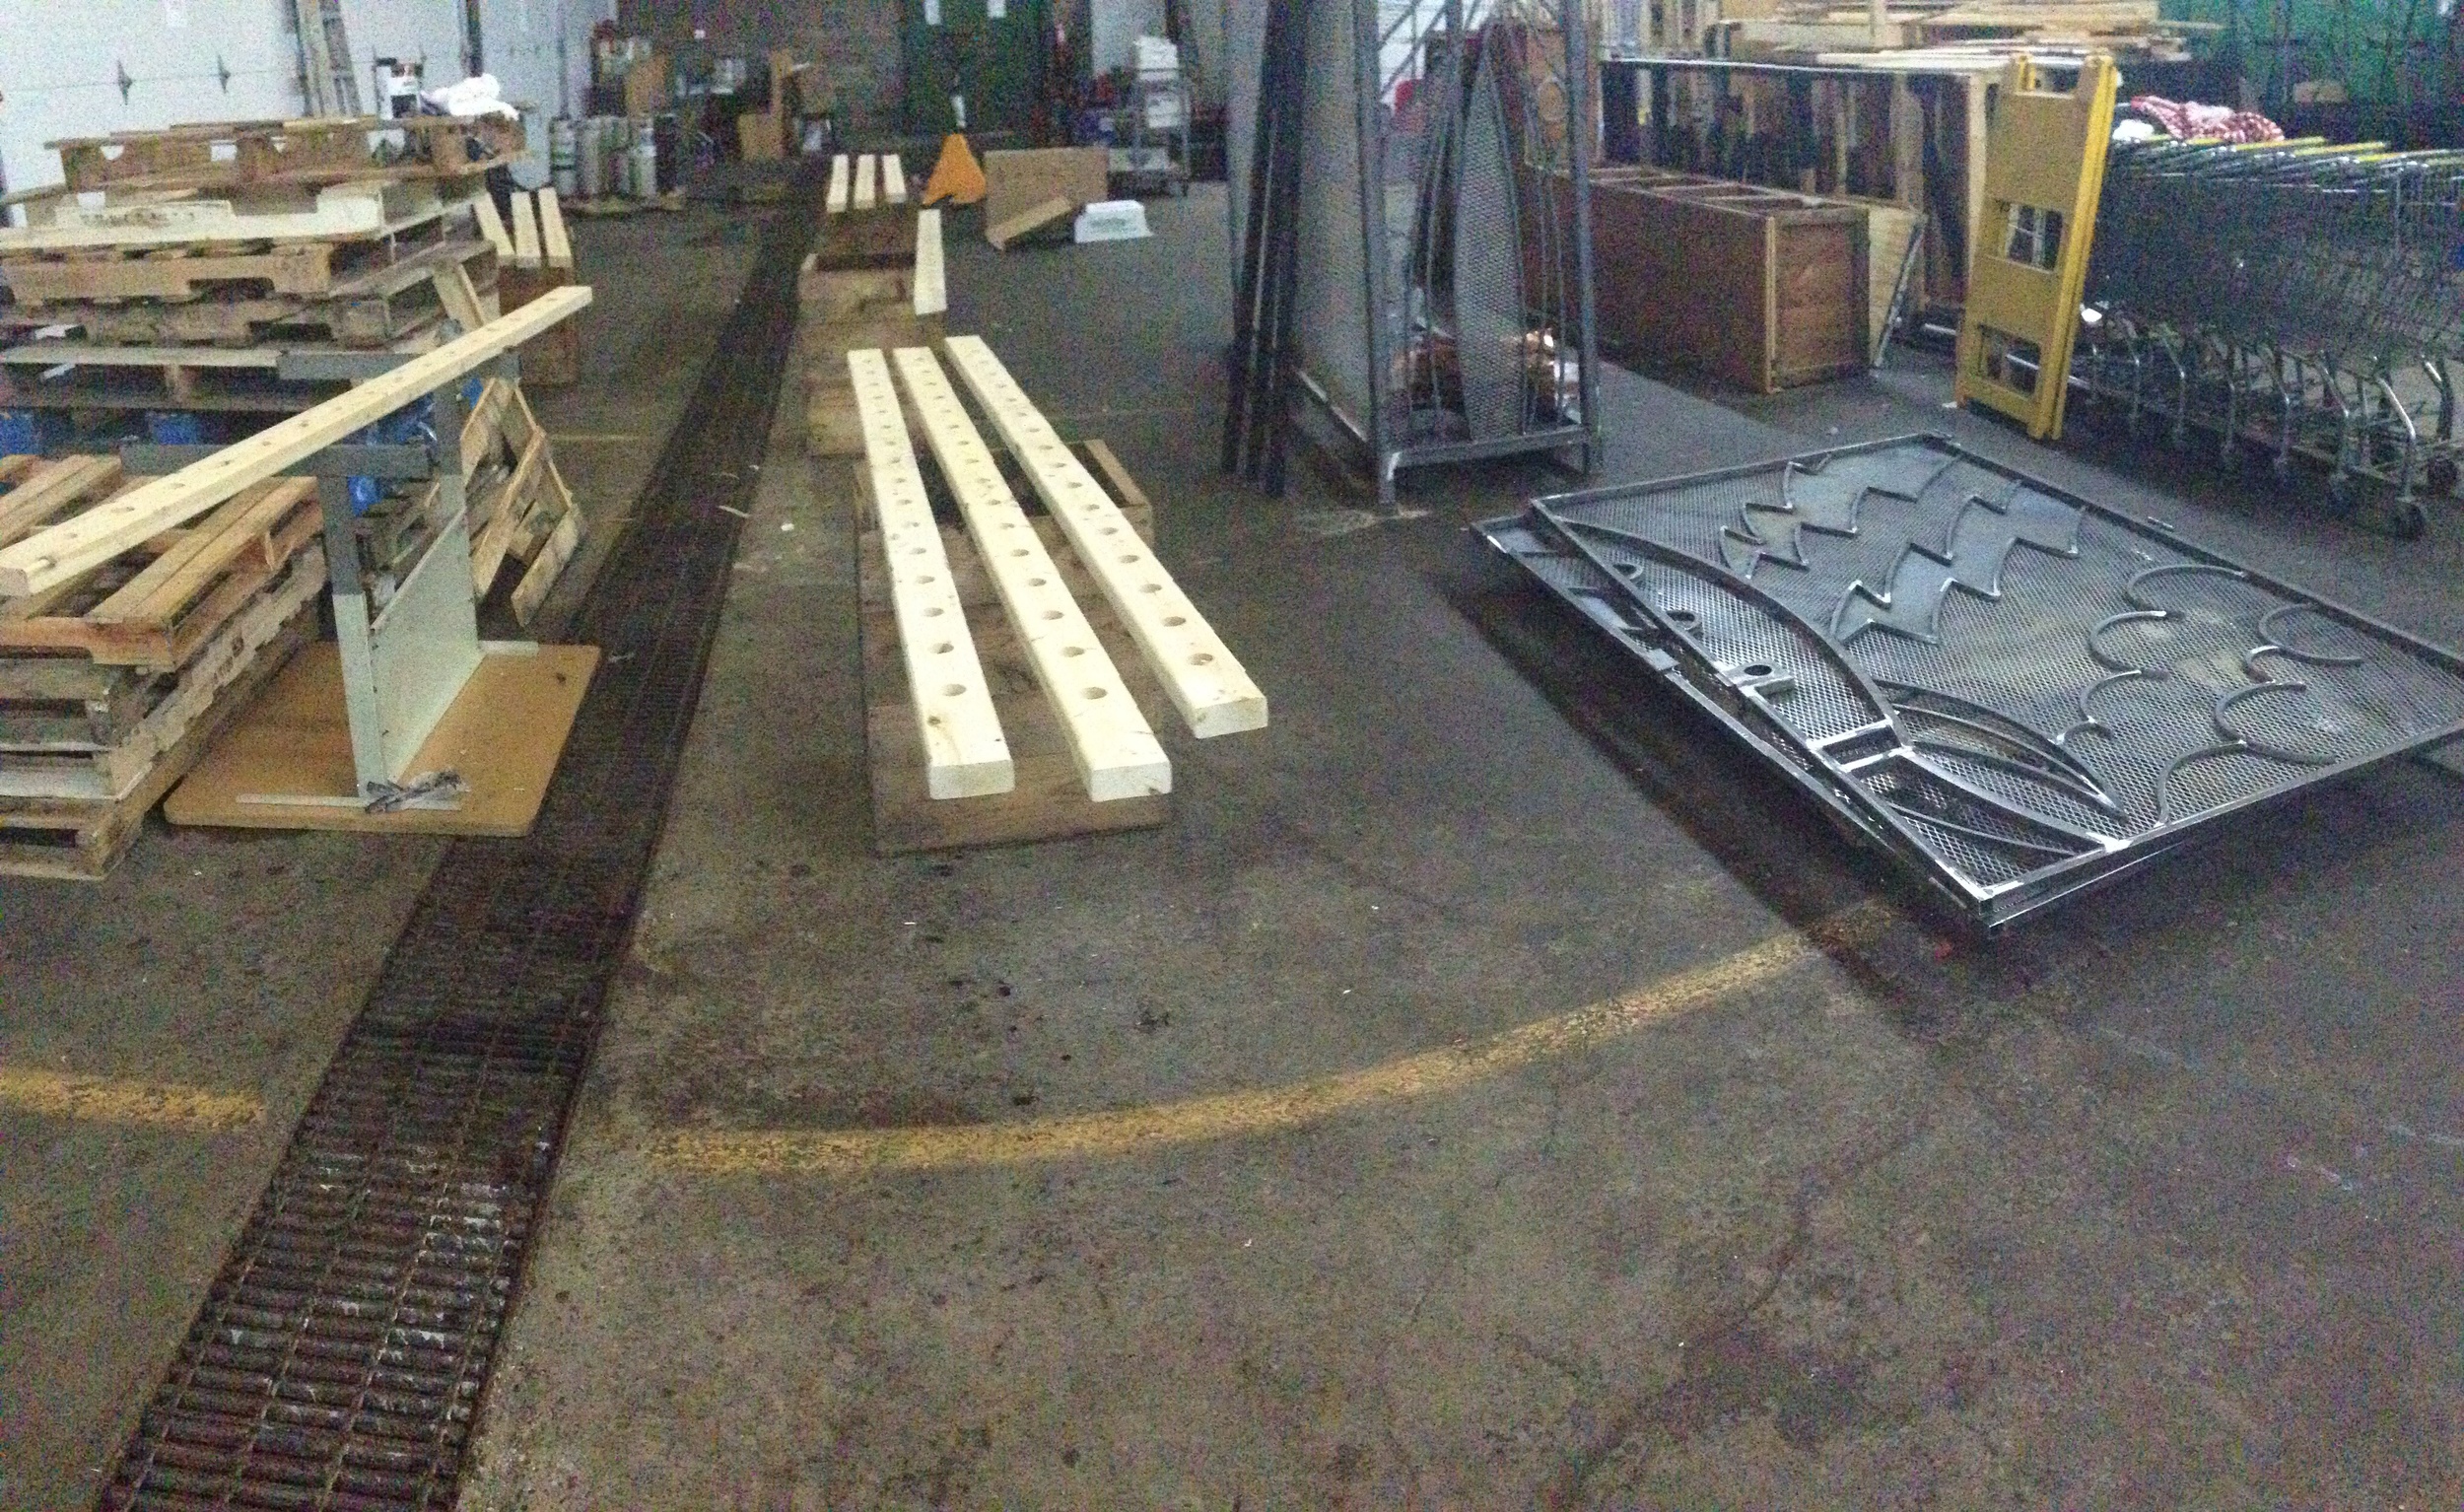
Today I was able to get a little extra time in the studio. I was able to cap the bottoms of the hemispheres that I purchased that will be used for the tops of the antennas. I was also able to get all the frame work fabricated for the wings. Things are moving at nice clip right now working between my full time job at the museum and teaching on Monday and Wednesday nights. Getting into the studio is tough but I always look forward to it.
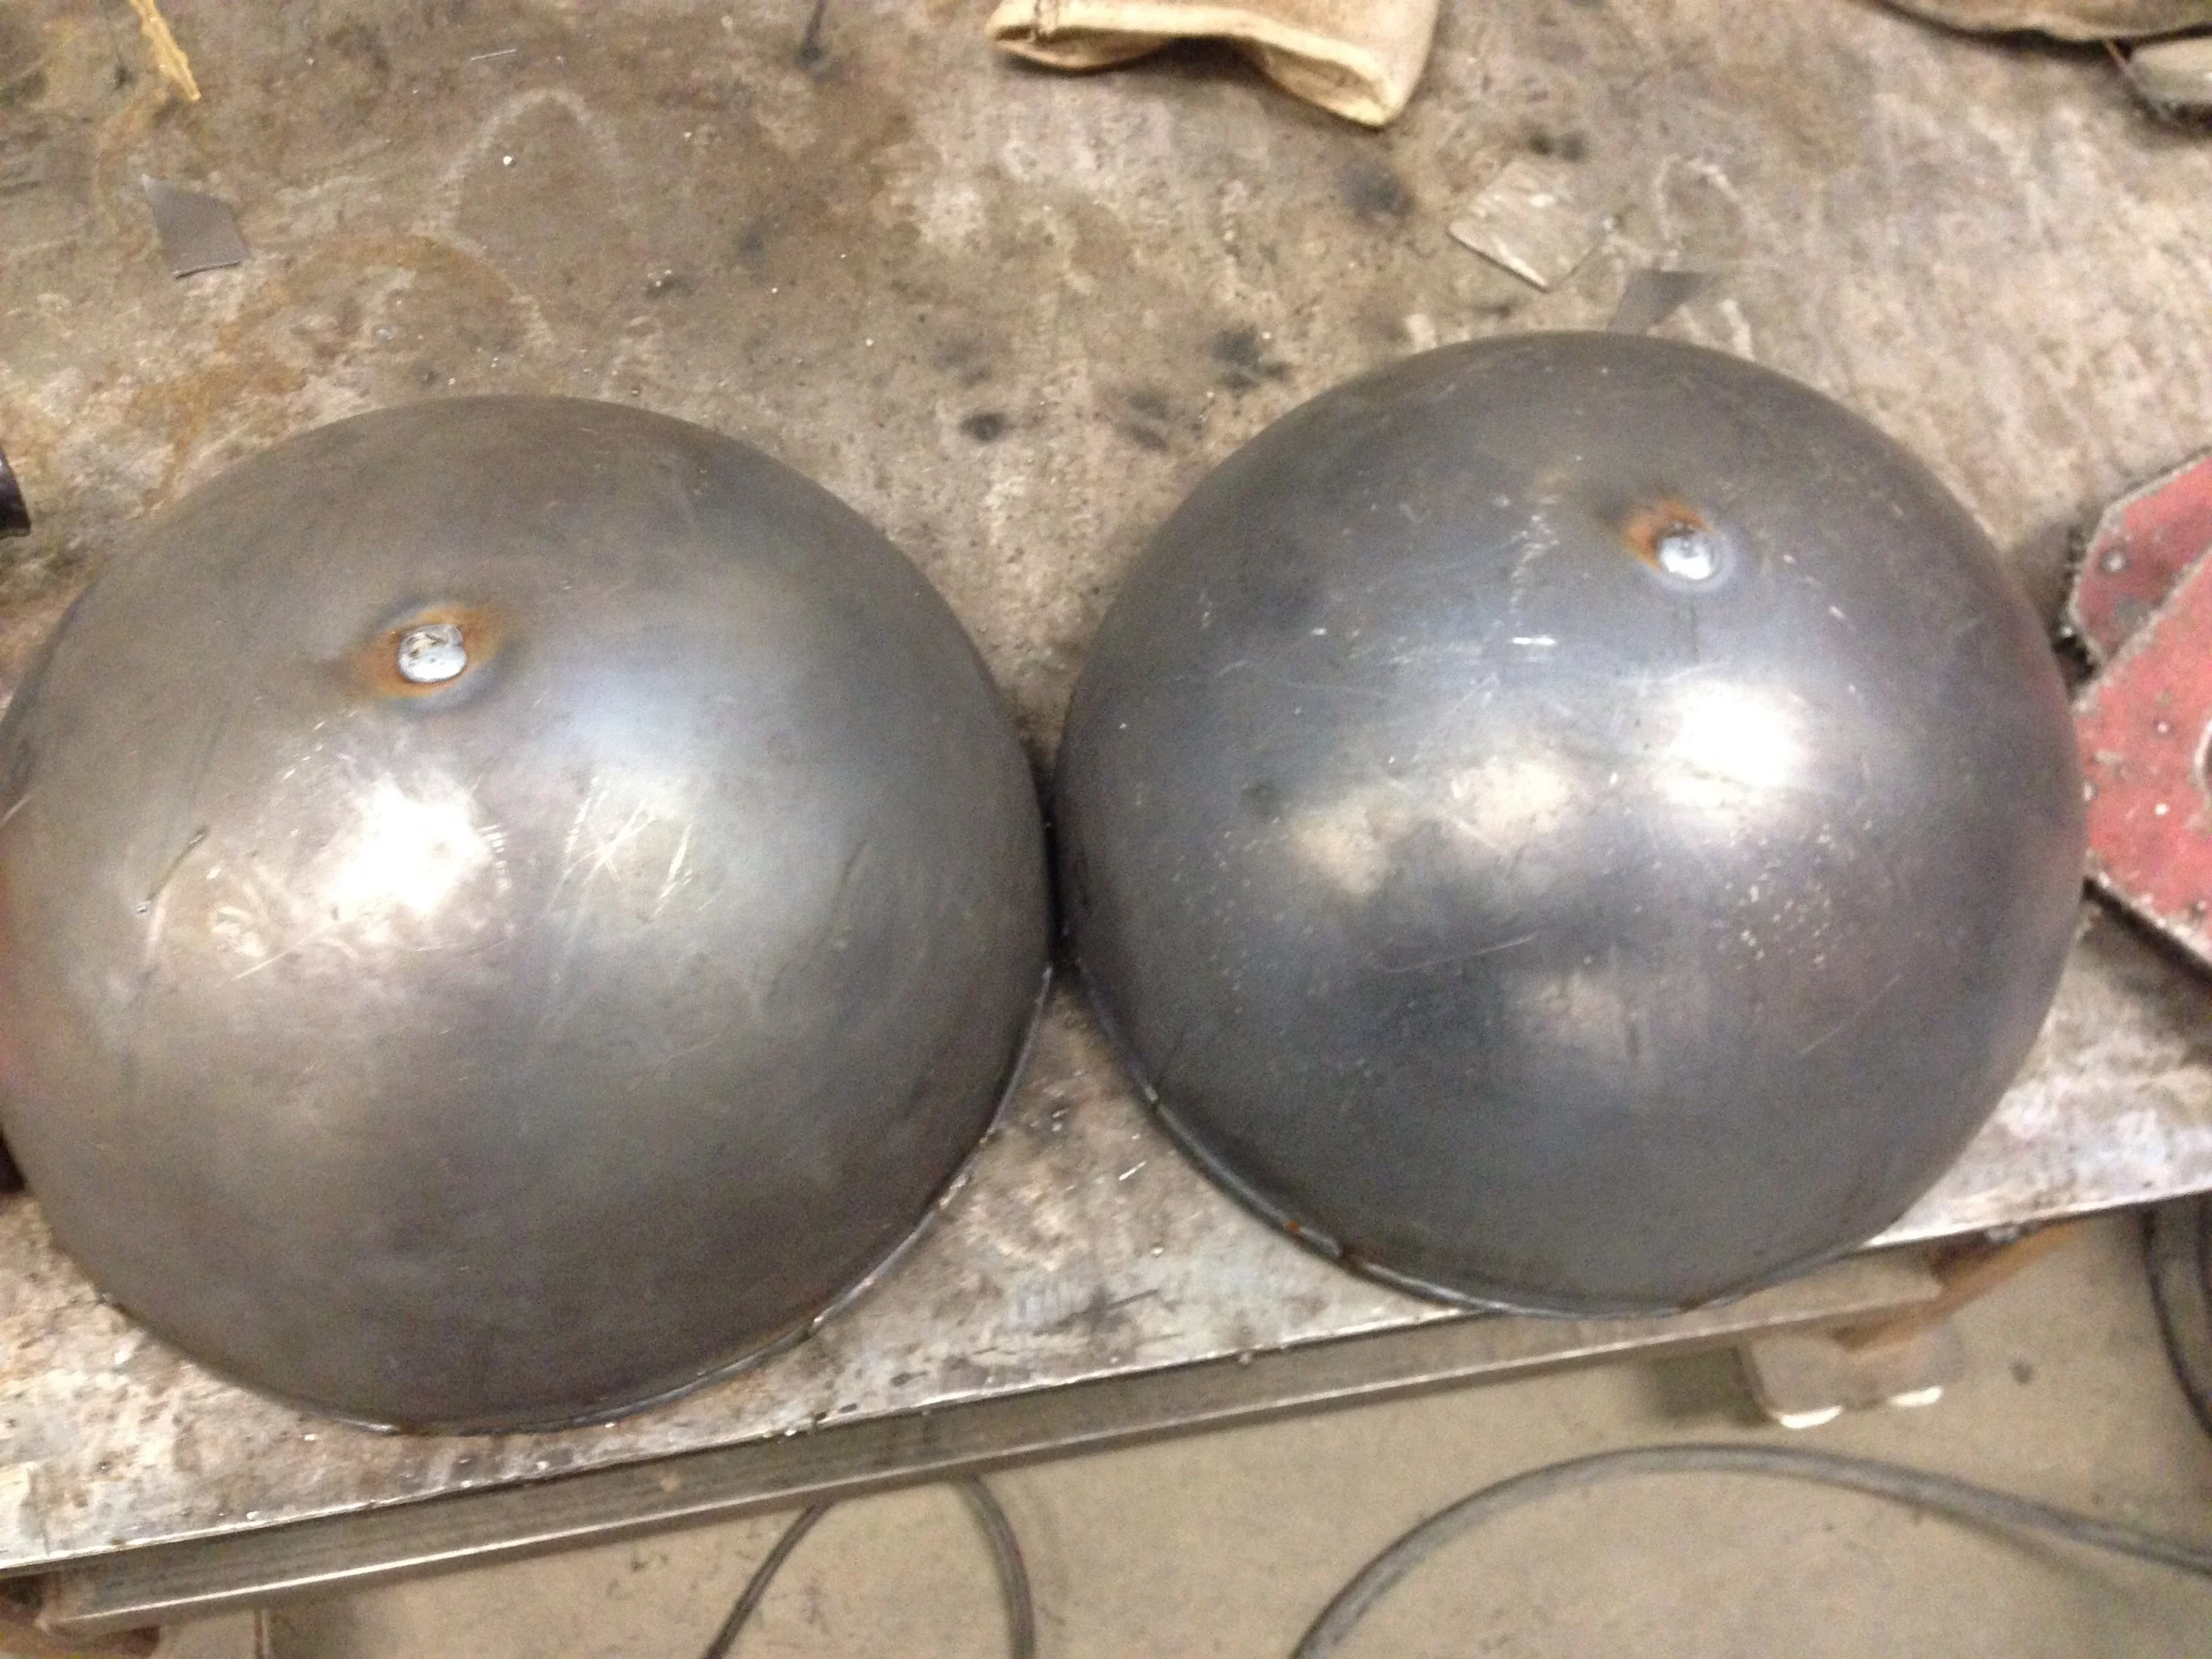
Yeah yeah, my wife already told me they look like boobs. I had to weld up the holes in hemispheres so water doesn't get into them.

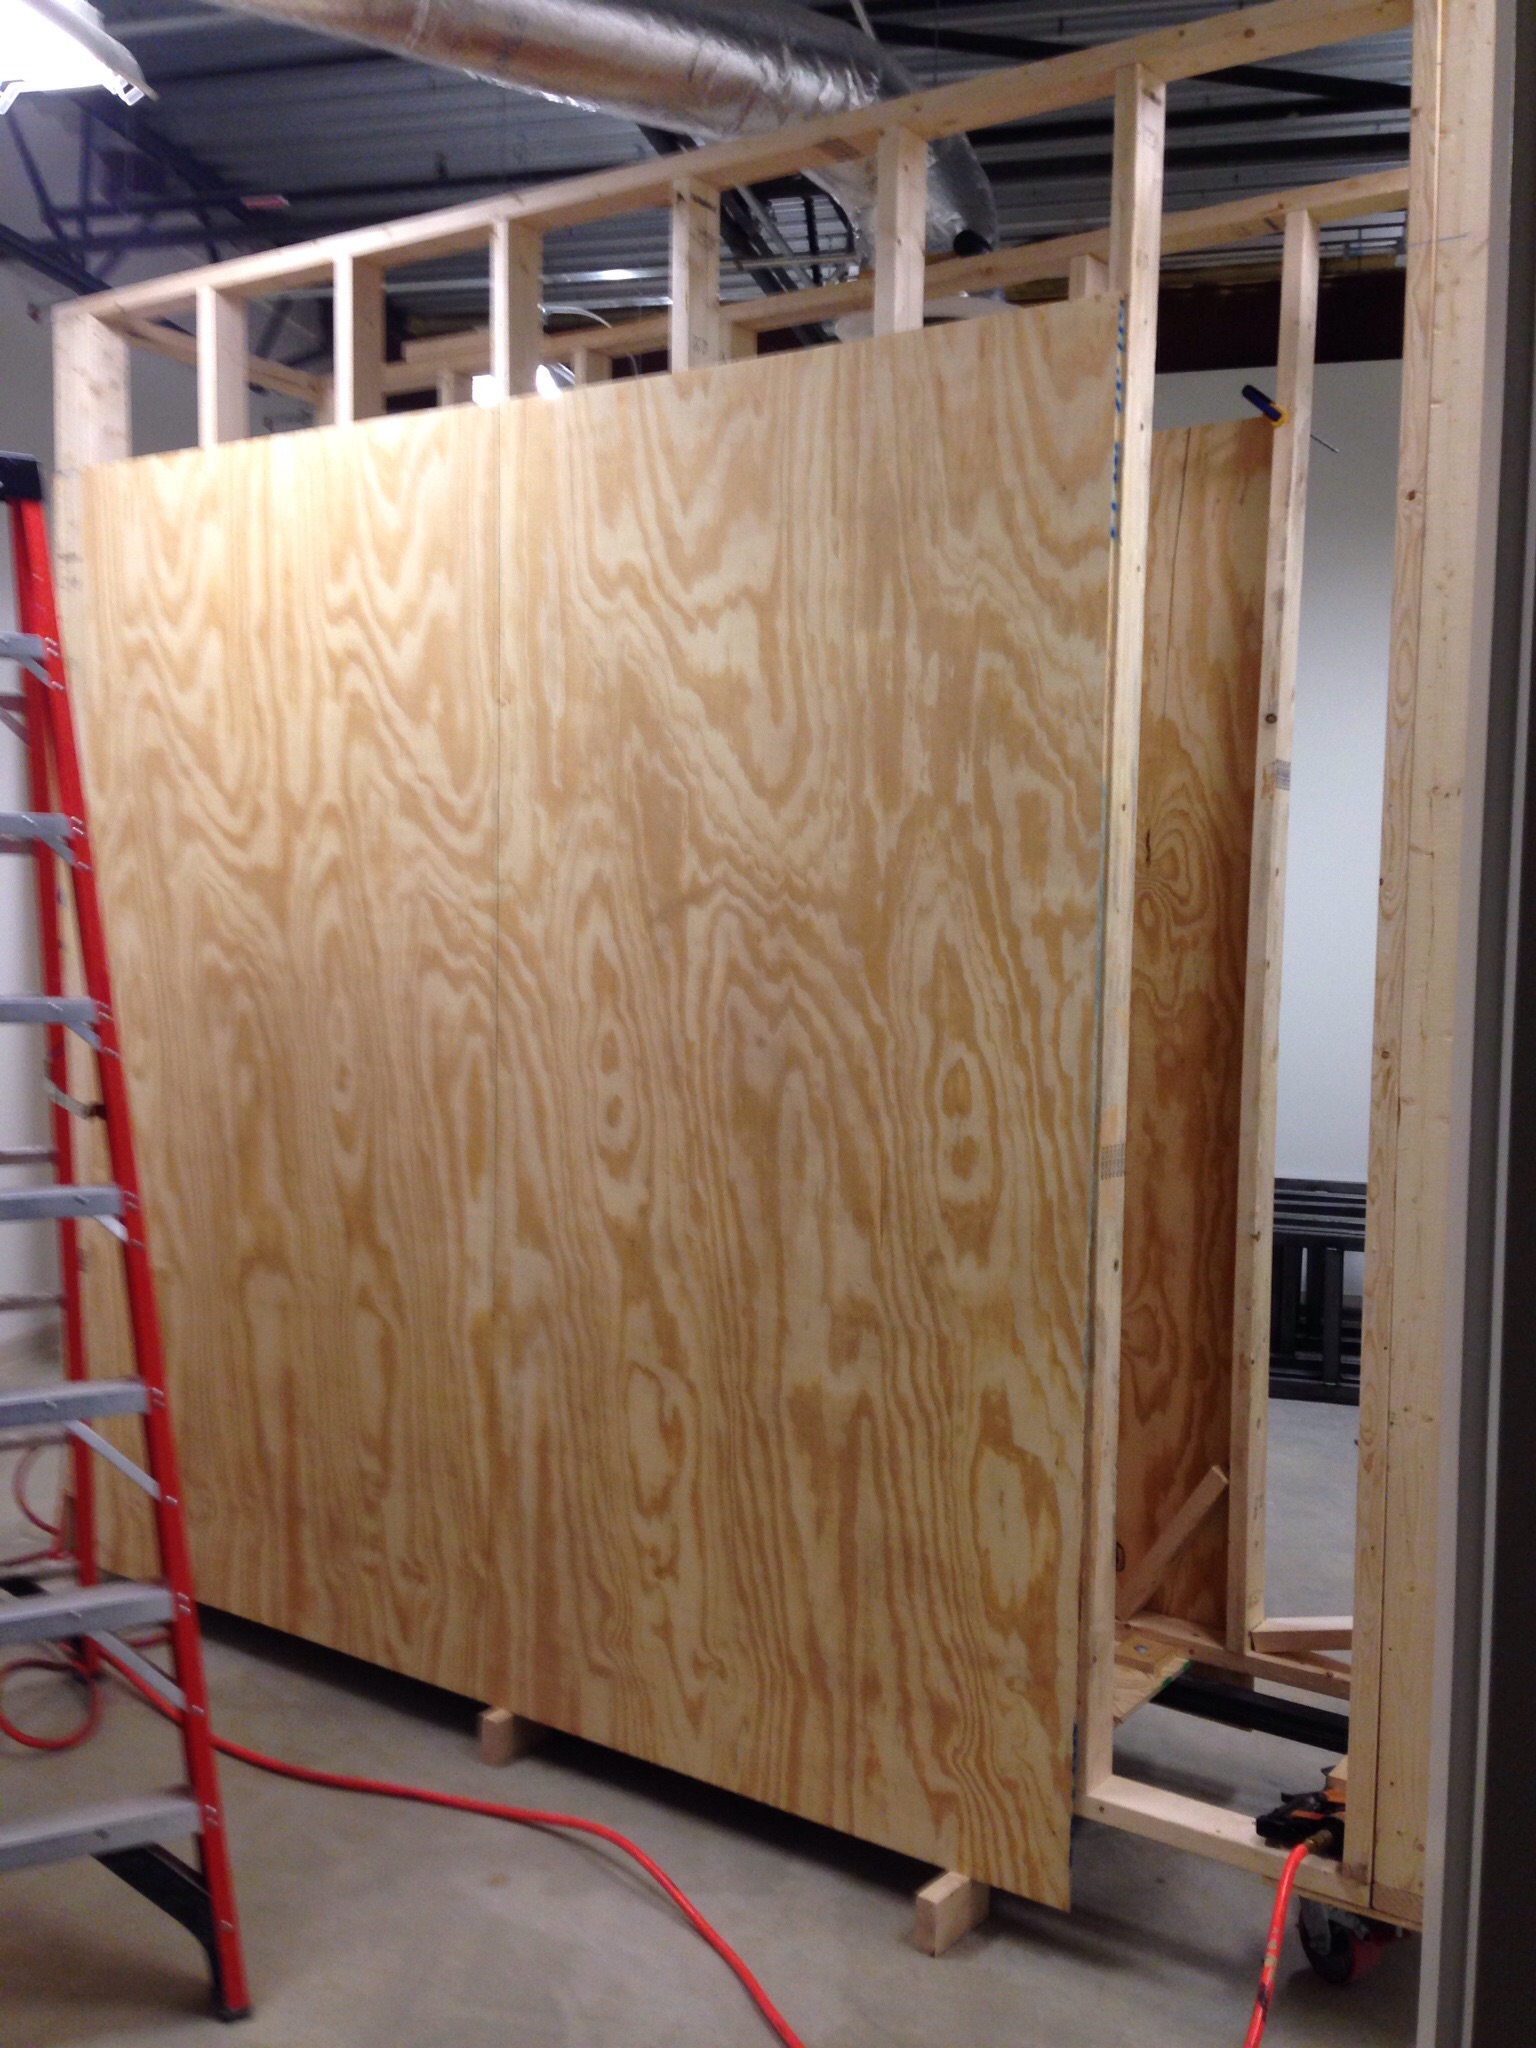
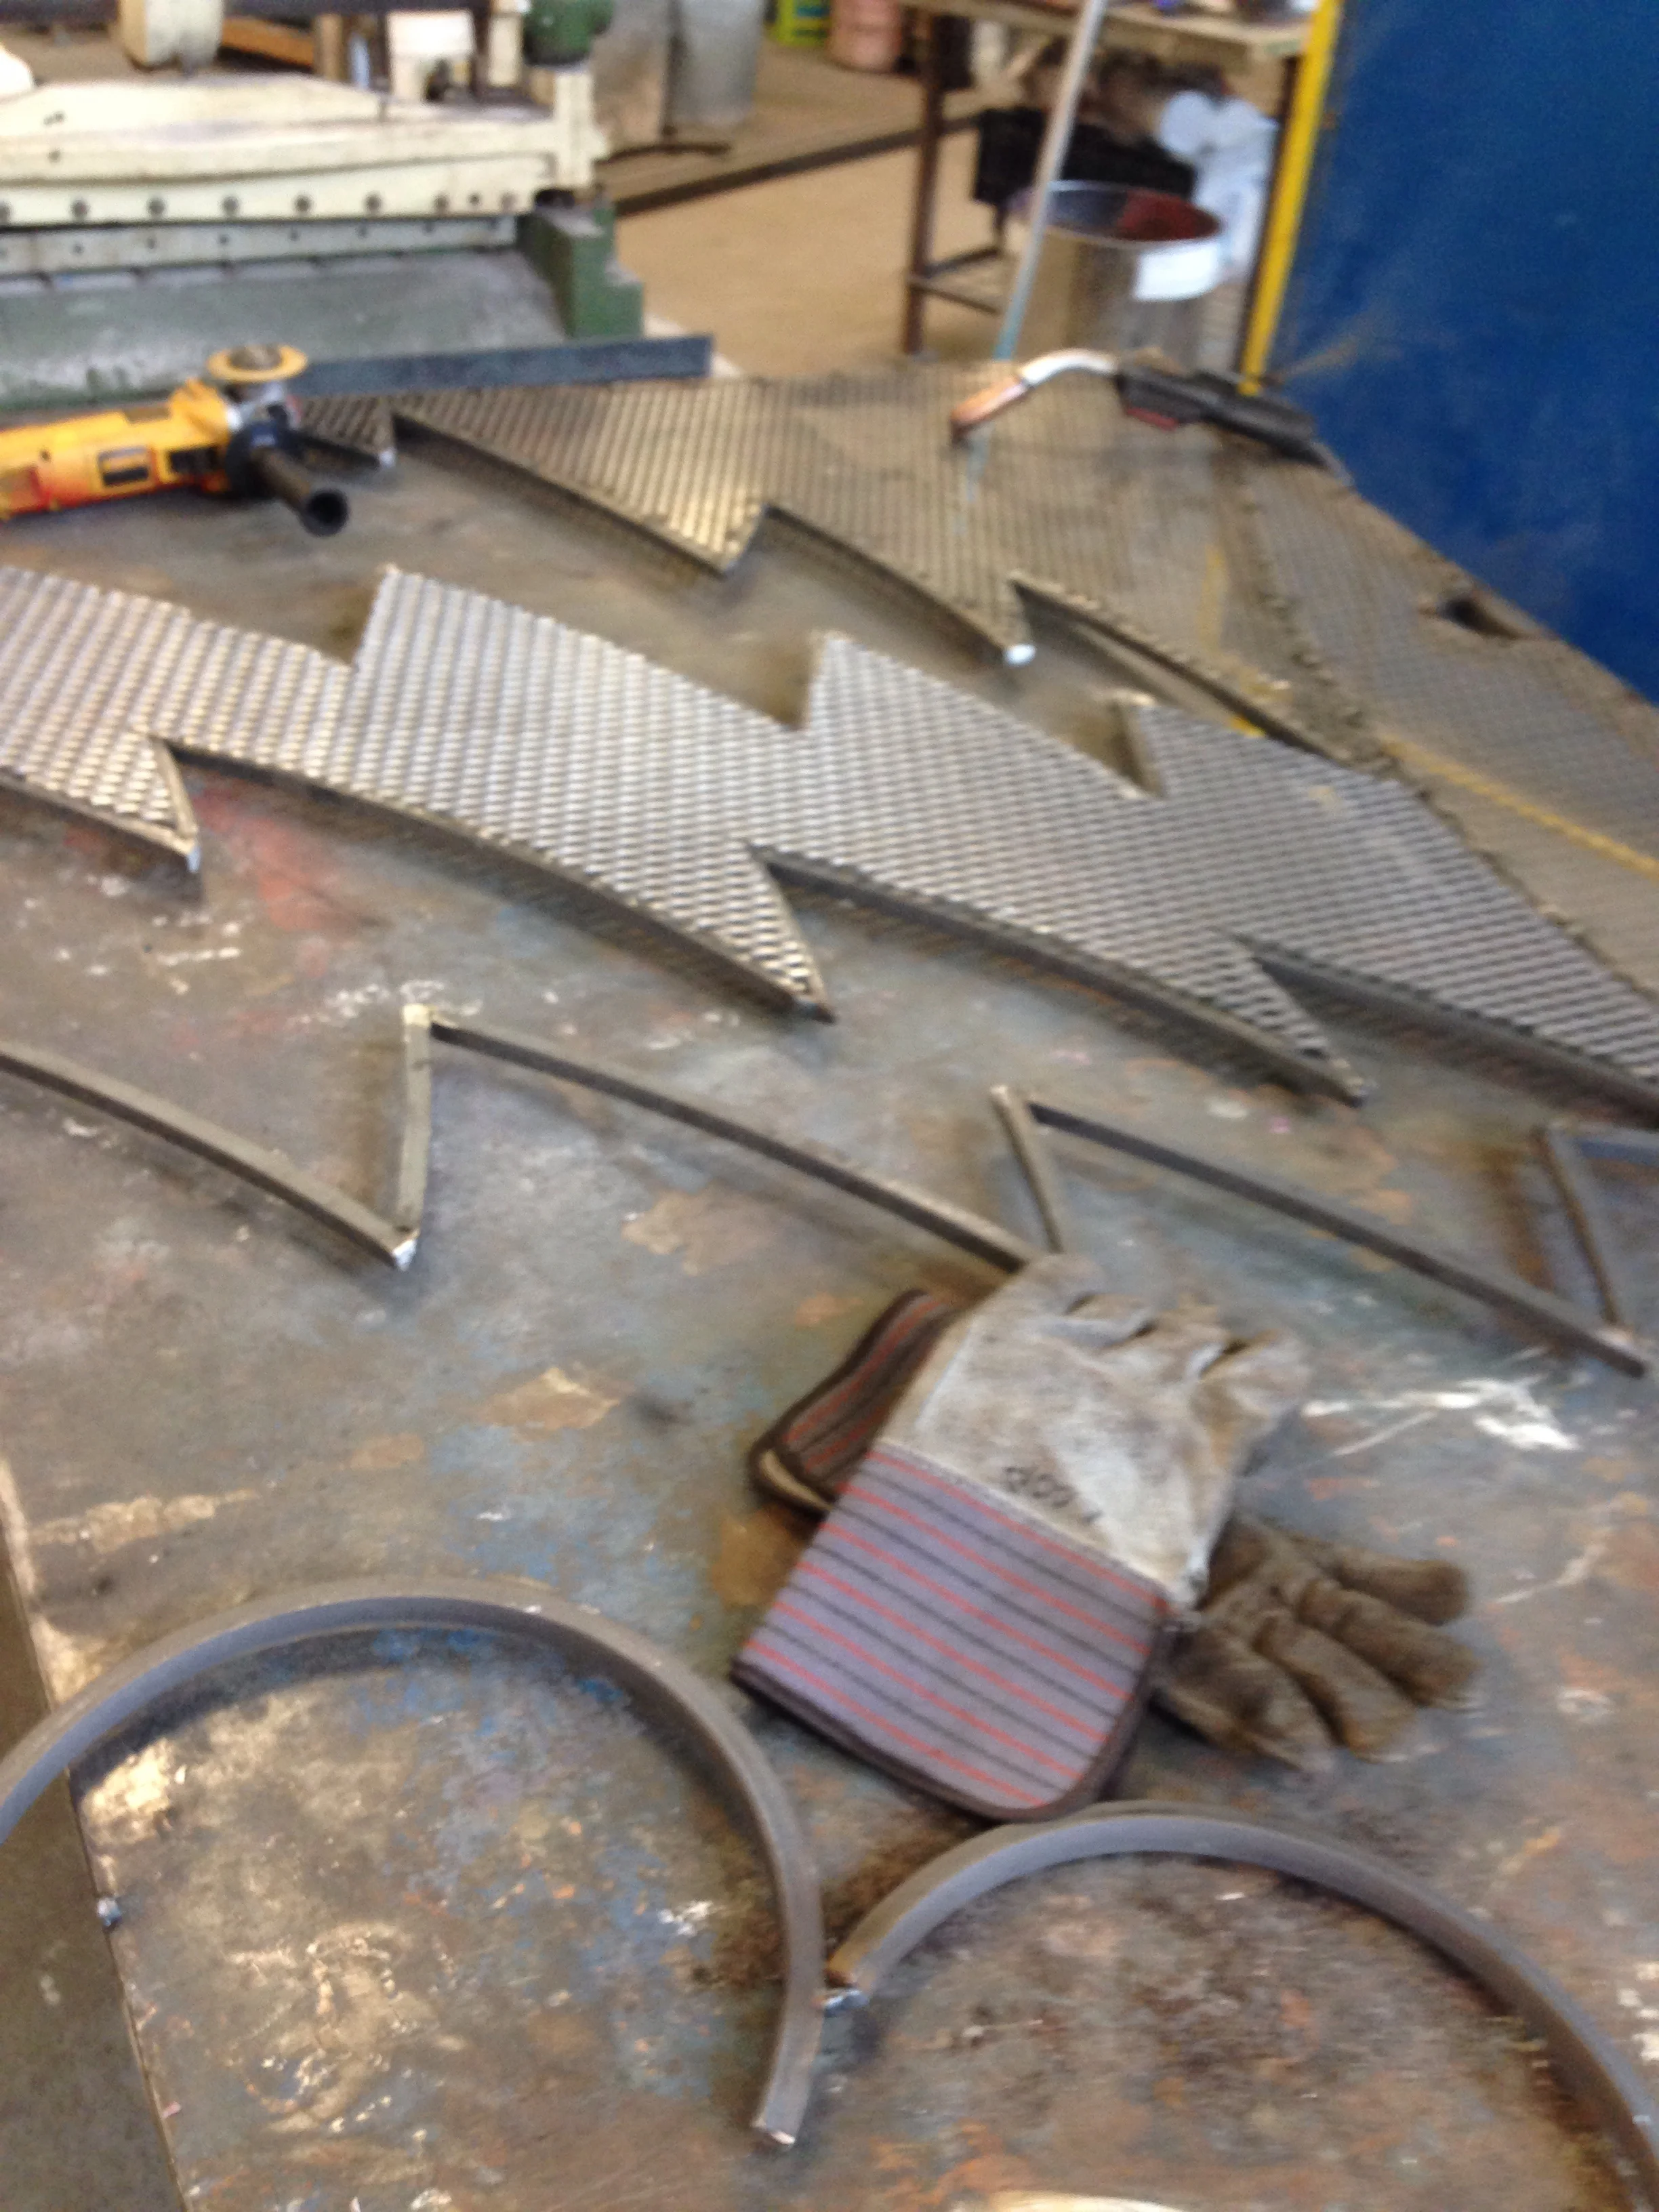
Got to do a little rolling today to make the framework for the wings.
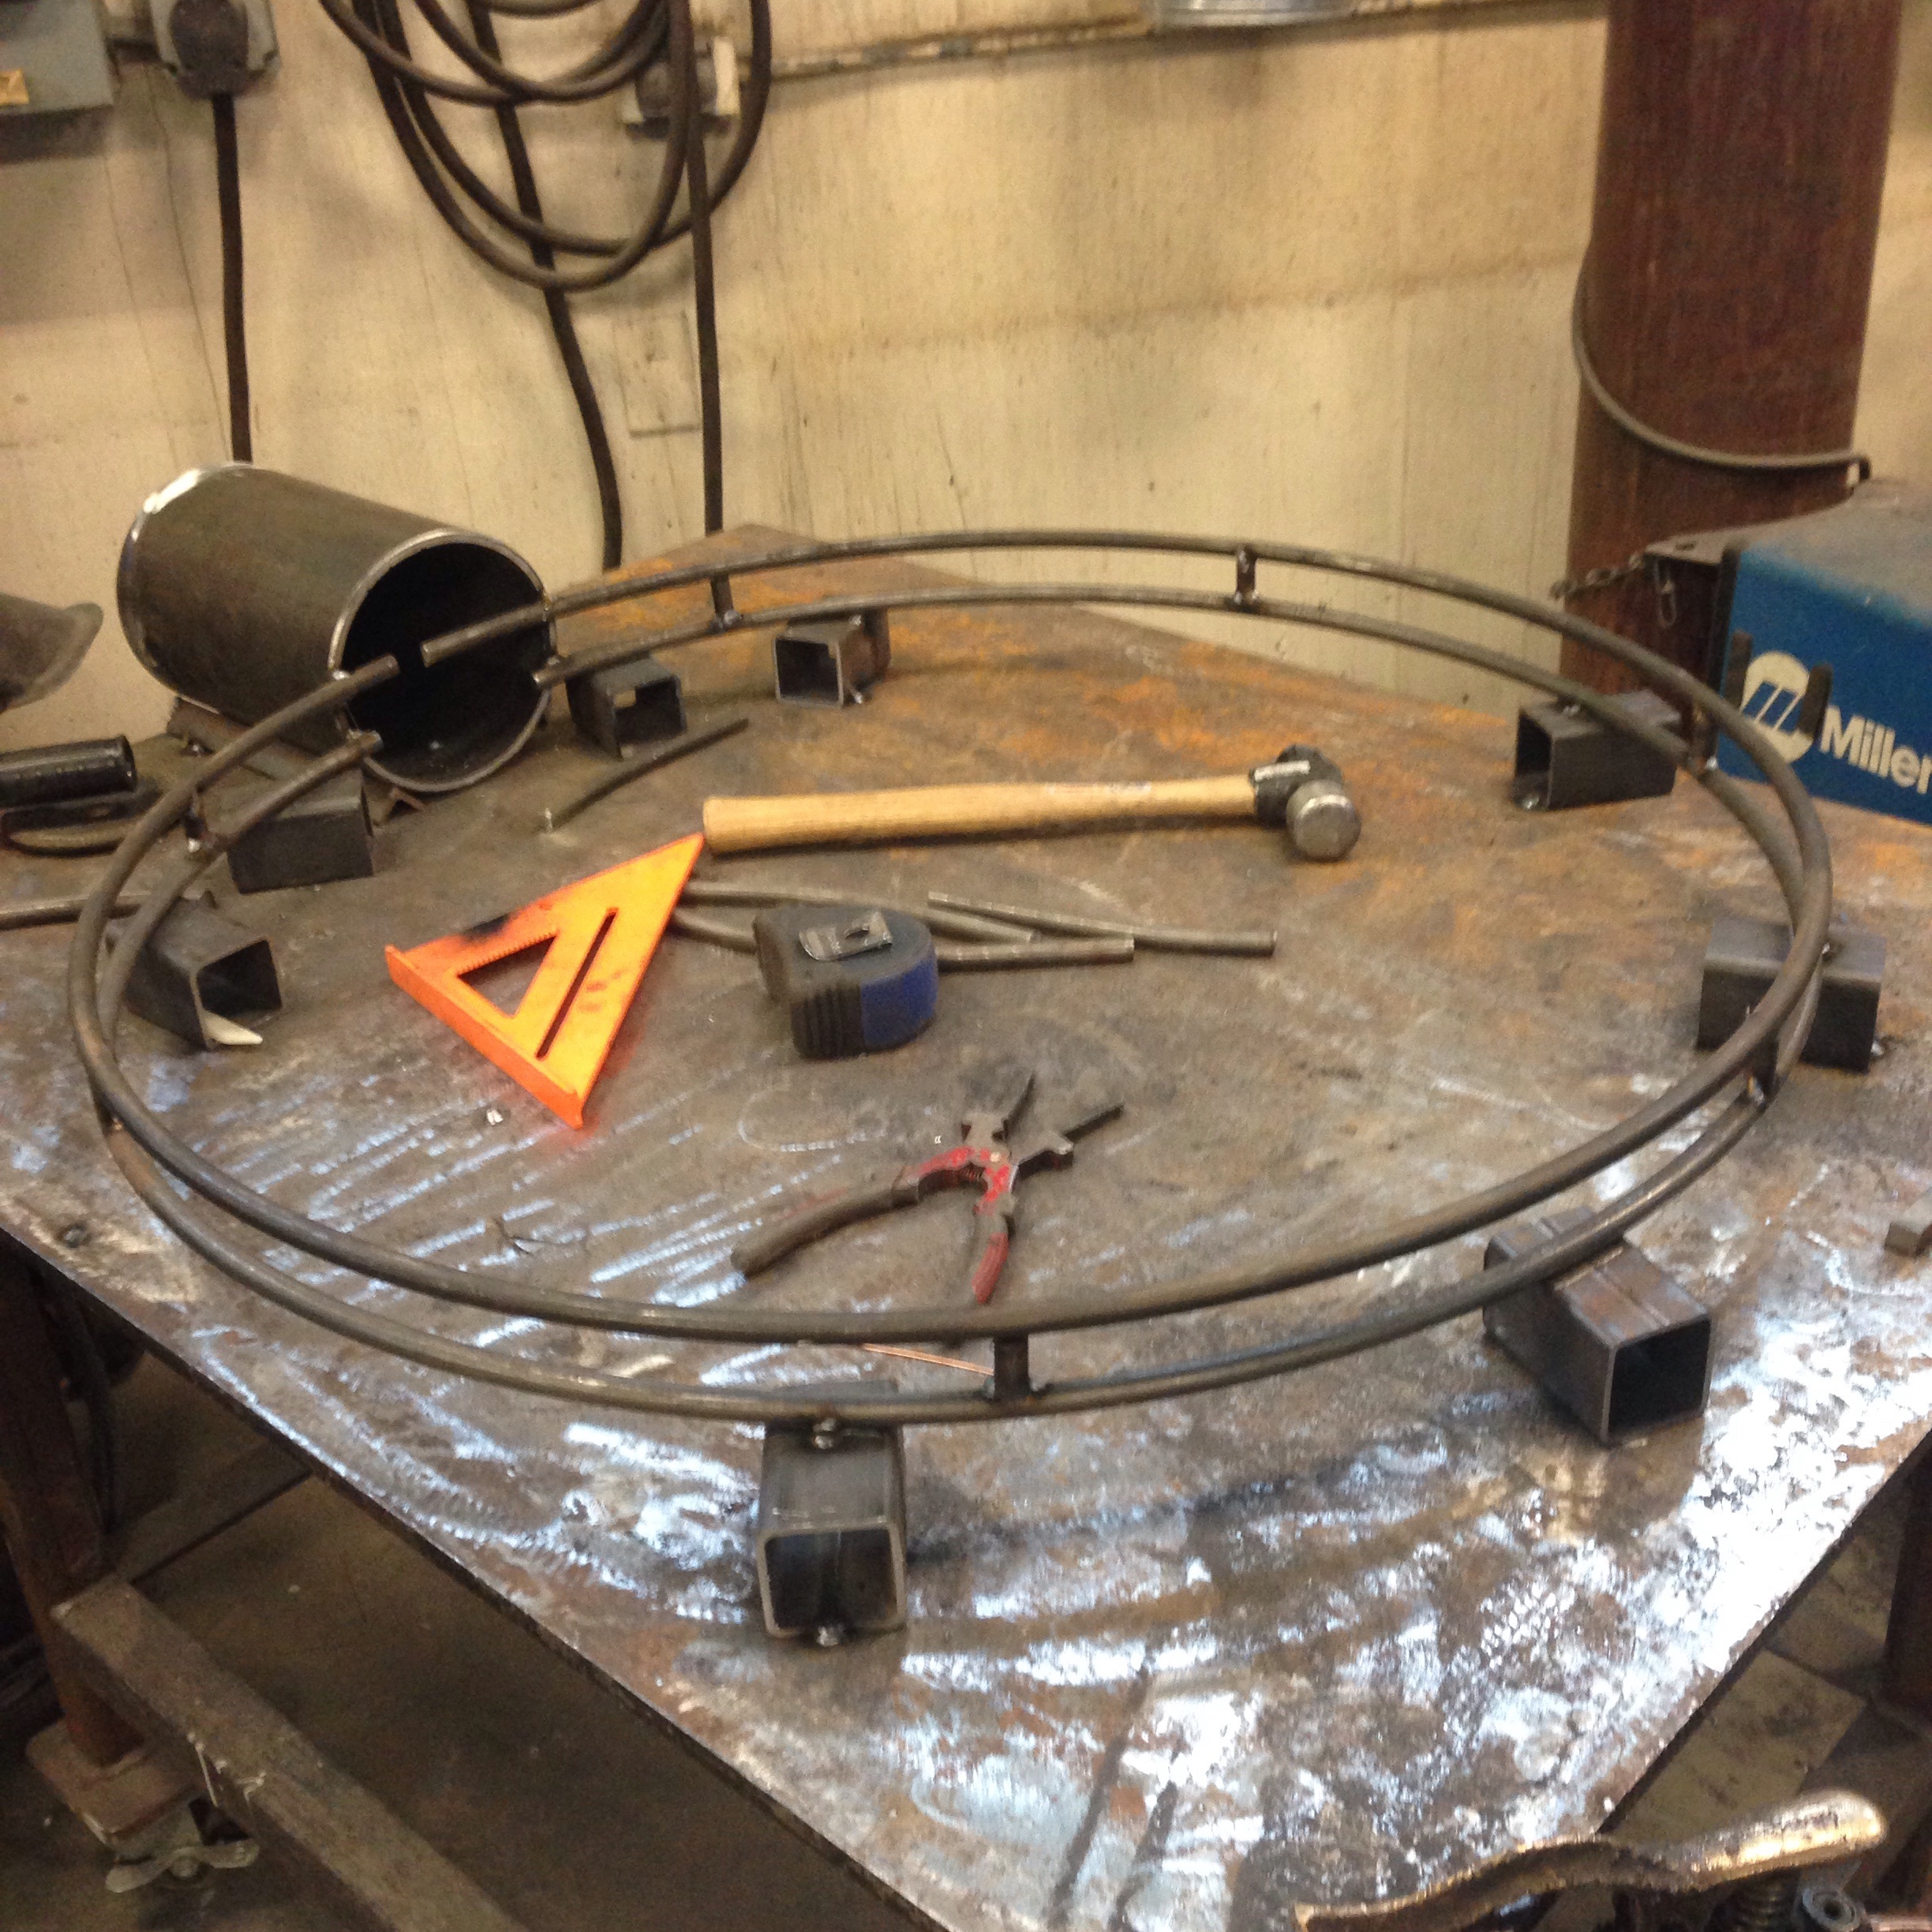
Here's my layout for the wings. Rudimentary but it gets the job done.

Now that the framework is done I can start skinning it with steel.